Evelino 2-part epoxy grout
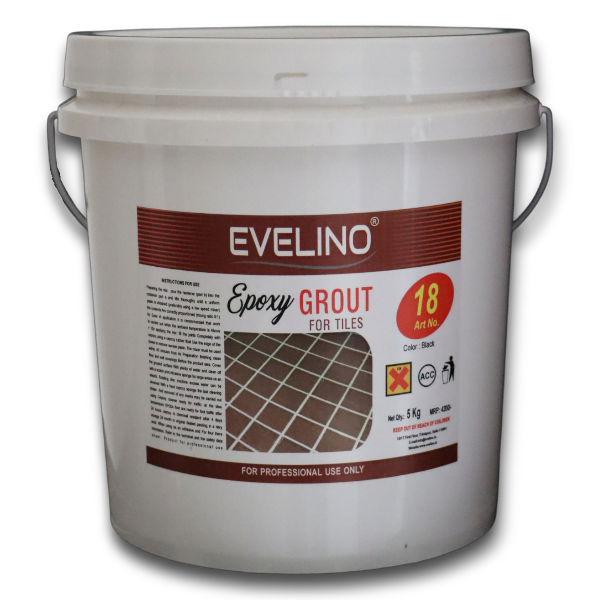
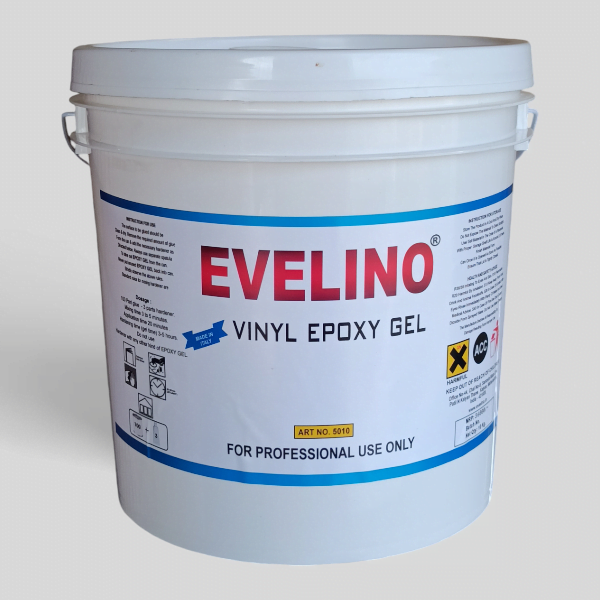
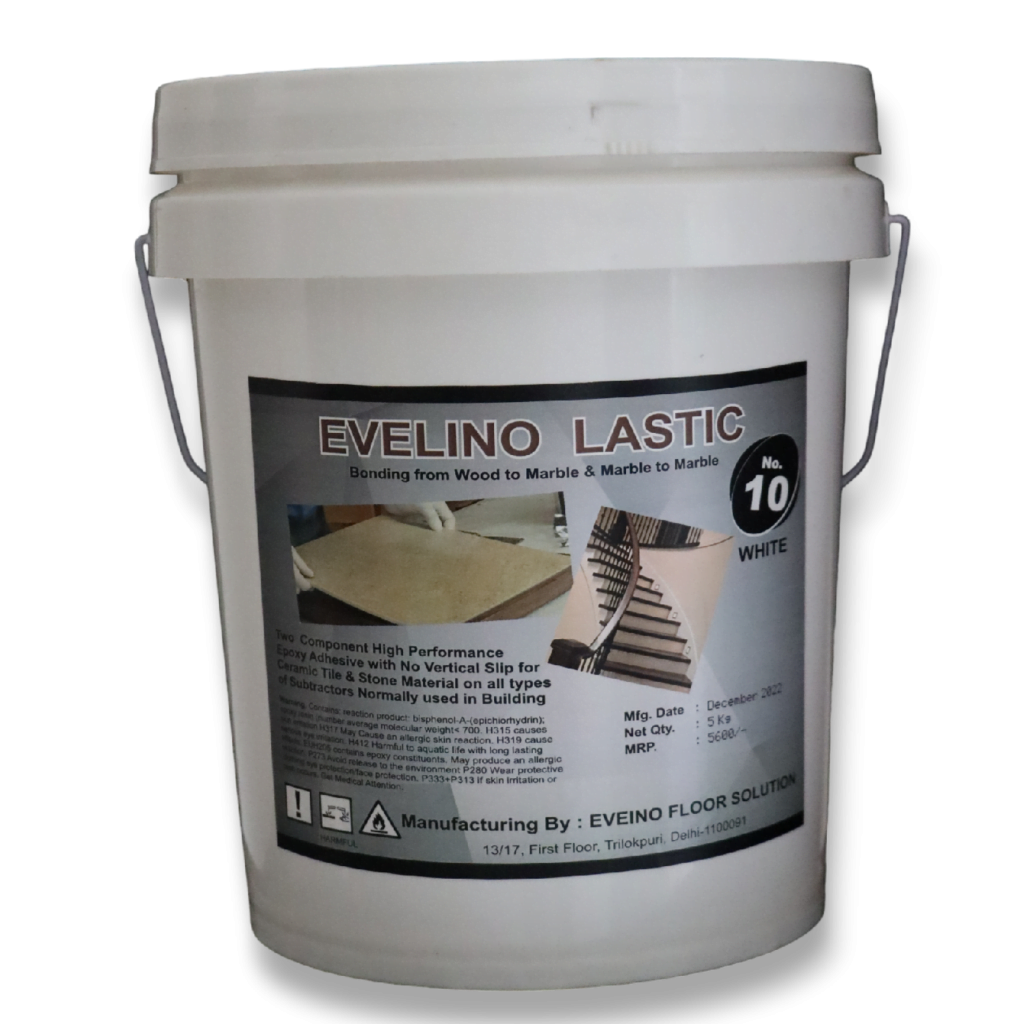
EVELINO 2 Part Epoxy Grout for Tiles and Marbles is stain-free for floors and walls, color-fast, chemical resistant, and 100% solid epoxy grout. Suitable for ceramic, vitrified tiles, marble, and natural stones.
₹4,500.00
Description
Benefits of EVELINO 2-Part Epoxy Grout for Tiles and Marbles :
- Ultimate Durability: Our EVELINO 2-Part Epoxy Grout for Tiles and Marbles ensures a long-lasting bond, providing unparalleled surface durability.
- Water-Resistant: Enjoy peace of mind as this grout creates a water-resistant barrier, preventing moisture-related issues like mold and mildew.
- Easy Application: With a user-friendly application process, our epoxy grout makes DIY projects a breeze, saving you time and effort.
- Versatile Use: Ideal for various surfaces, including tiles, mosaics, and stone, ensuring a seamless finish in any room.
- Stain-Proof Formula: The grout’s innovative formula resists stains, keeping your surfaces pristine and easy to maintain.
- Product Specifications:
- Size: Available in convenient sizes for different project needs.
- Color Options: Choose from a range of colors to complement your design.
- Setting Time: Quick and efficient curing process for faster project completion.
- Key Features:
- Non-Sag Formula: Stays in place during application, preventing mess and waste.
- Chemical Resistance: Withstands exposure to cleaning agents, ensuring longevity.
- Professional Finish: Achieve a polished, professional look with this premium 2-part epoxy grout.
Product Details
size – 5kg
How to apply
Surface Preparation: Clean and dry tiles thoroughly. Remove debris, dust, or previous grout. Allow new tiles to set and cure. Mixing the Grout: Wear protective gear (gloves, safety glasses). Open Evelino 2-Part Epoxy Grout kit. Pour Parts A and B into a clean bucket. Mix thoroughly with a paddle or drill attachment until consistent. Application: Dip rubber float into mixed epoxy grout. Spread grout diagonally across tiles. Ensure complete coverage of joints. Work in small sections to prevent drying. Press grout firmly into joints with the float. Cleaning Excess Grout: Allow grout to set for recommended time. Dampen a sponge with water. Wipe off excess grout from tiles. Rinse sponge frequently to avoid smearing. Final Touches: Inspect surface for any haze. Polish tiles with a dry, clean cloth. Apply grout sealer if desired, following instructions. Tips for Success: Work efficiently in manageable sections. Keep tiles and tools clean throughout the process. Adhere to recommended curing times for optimal results.


